Barn Assembly

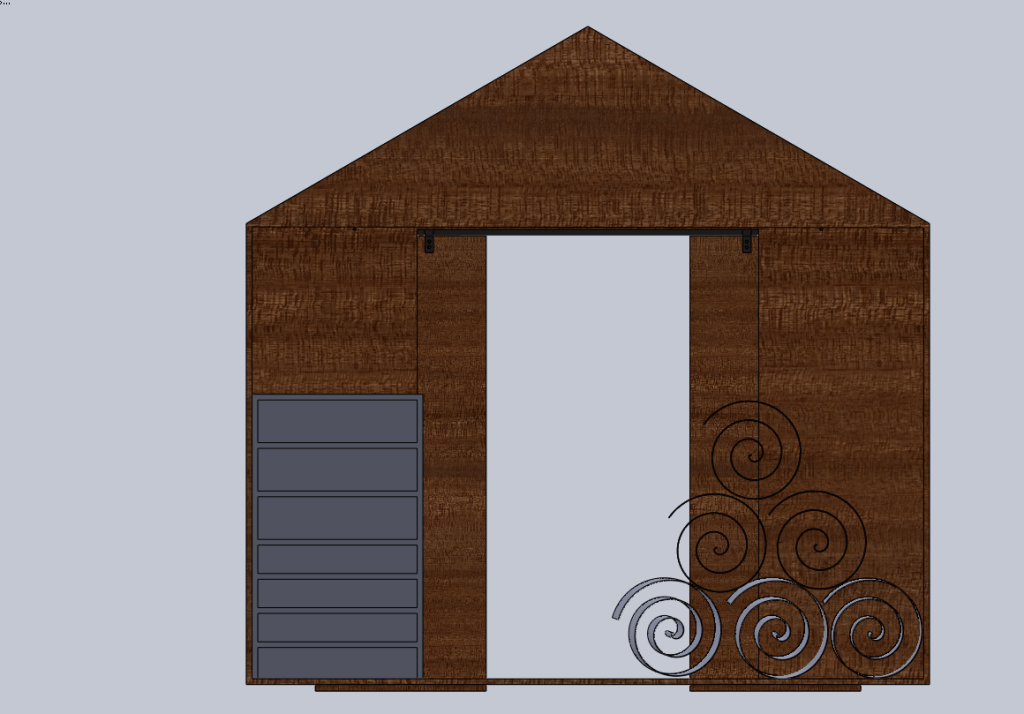
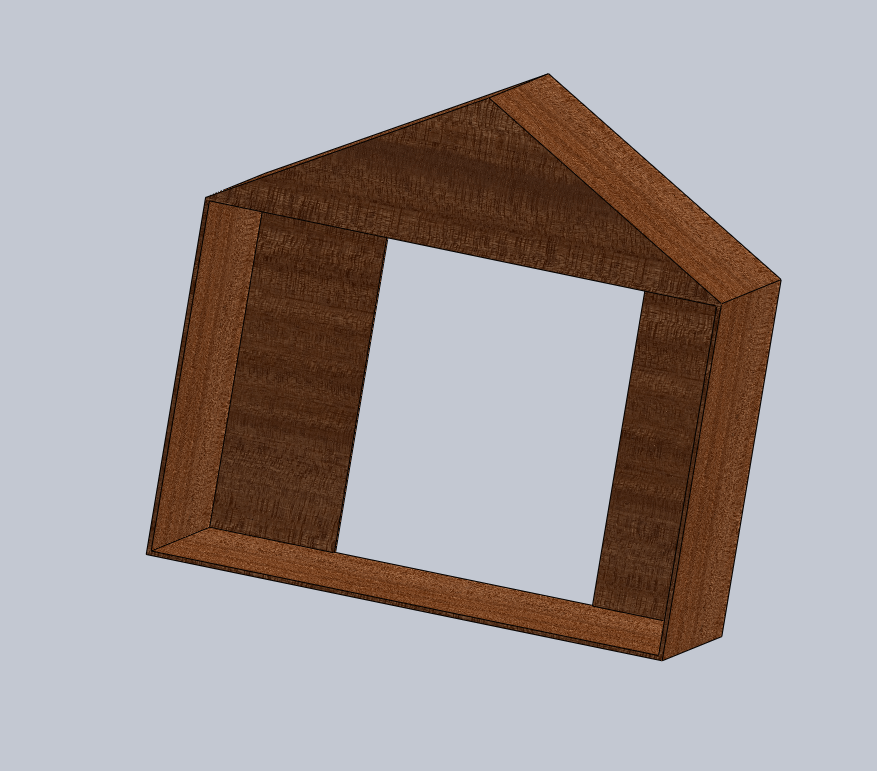
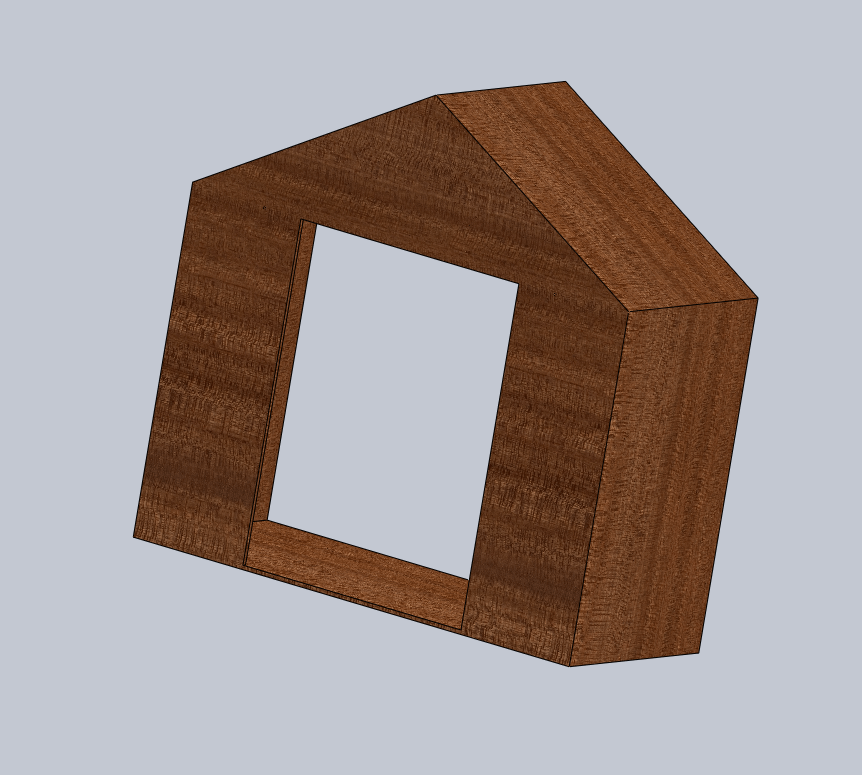
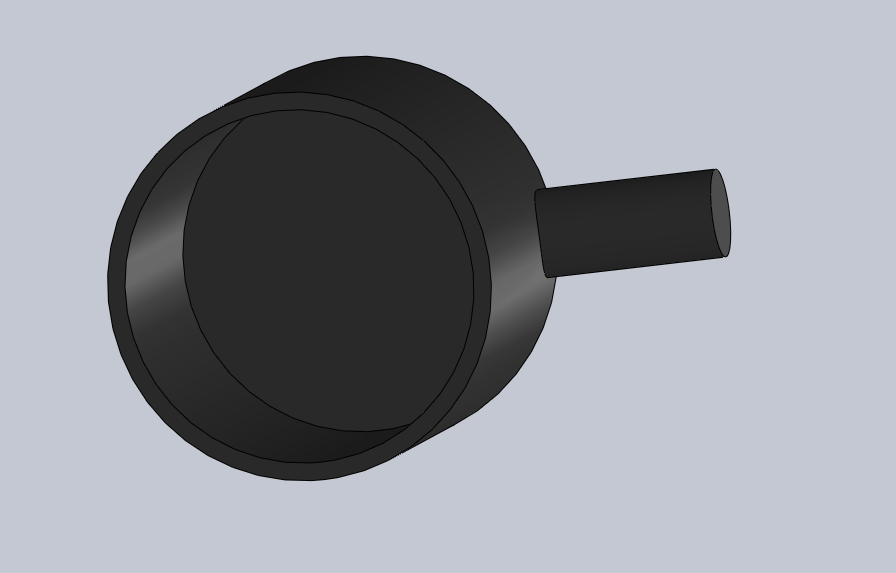
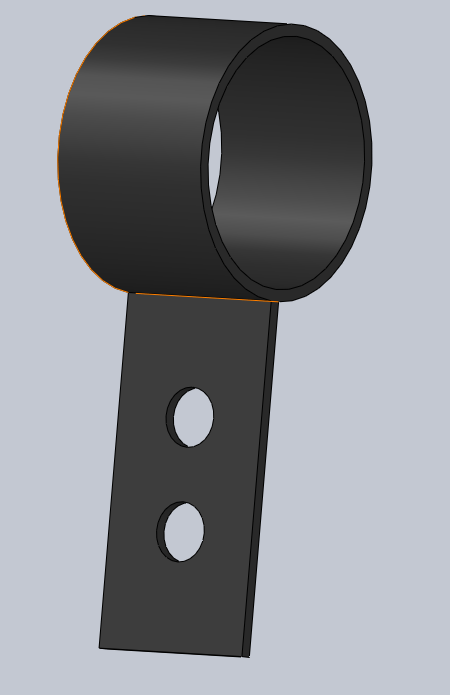
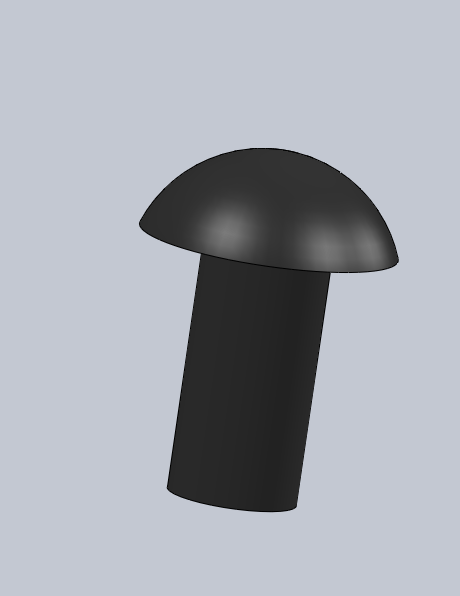
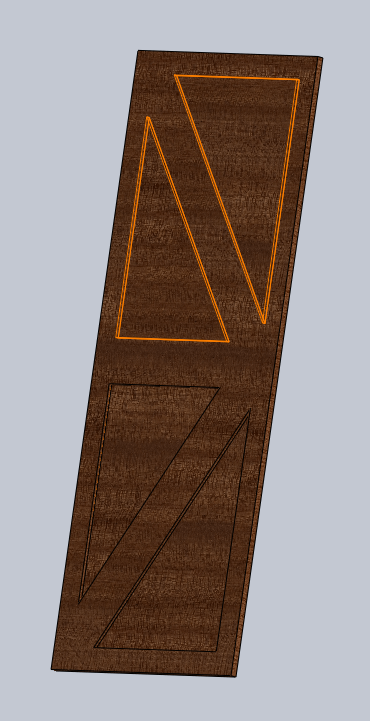
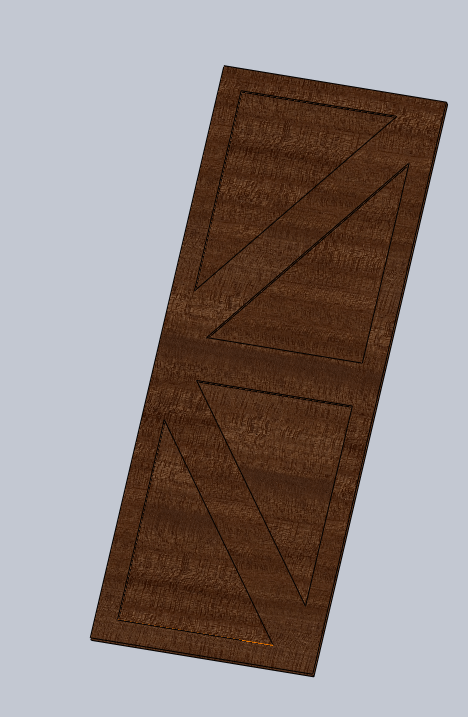
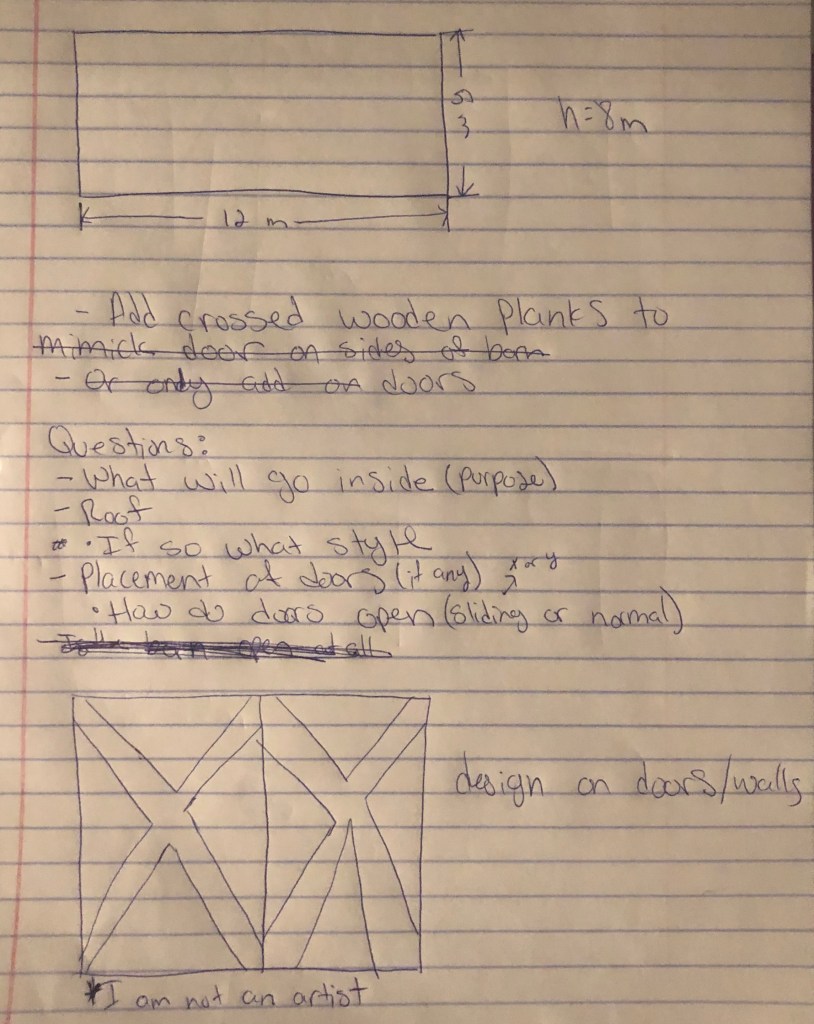
This week I worked on assembling the barn. Along the way I ran into a lot of problems due to not assembling as I created the parts. I started with assembling the barn doors and that caused me the most trouble. At first the brackets were too close for the pole to fit so I had to attach them farther apart. Next the bolt was too short to fit through both the door and the slider so I had to make the bolt longer. Next I realized I hadn’t made holes in the doors for them to attach to the slider so I had to go back and add those. The door is still slightly too long and hangs off the bottom of the barn. The pole also needs to be larger so the doors can open the way I would like them too. Next week I will work on adding the finishing touches and assembling the cat shower.

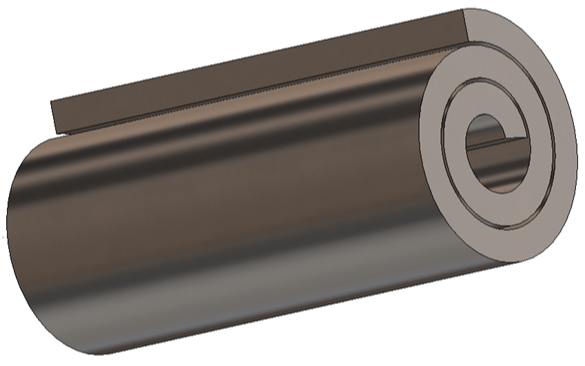
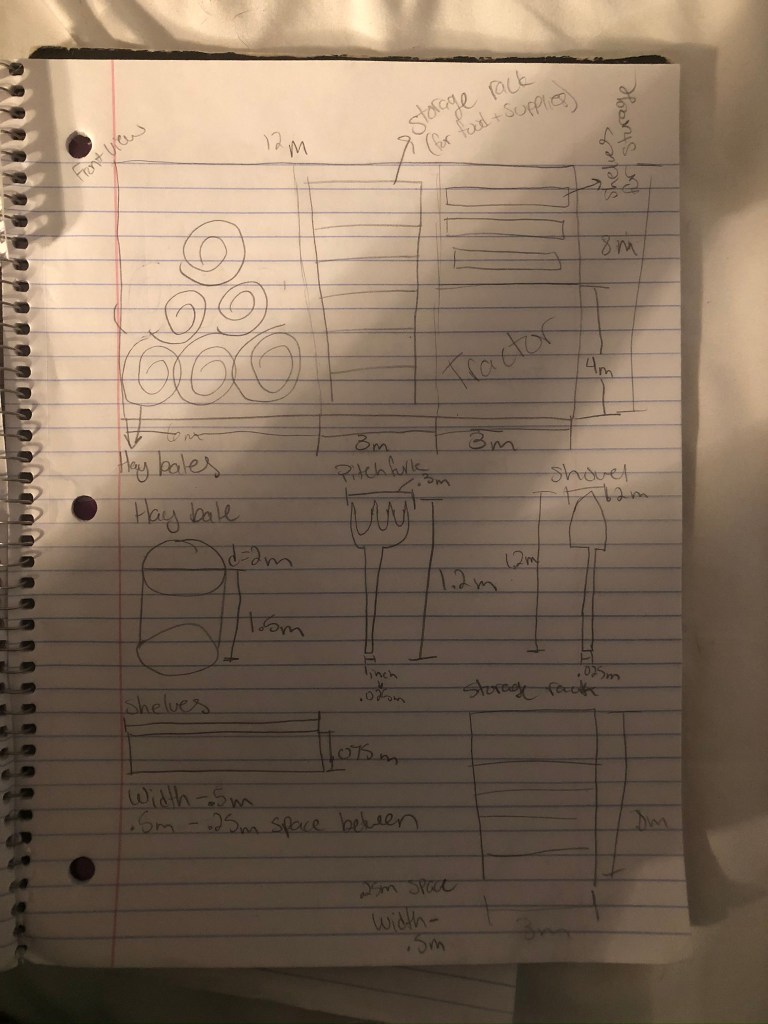
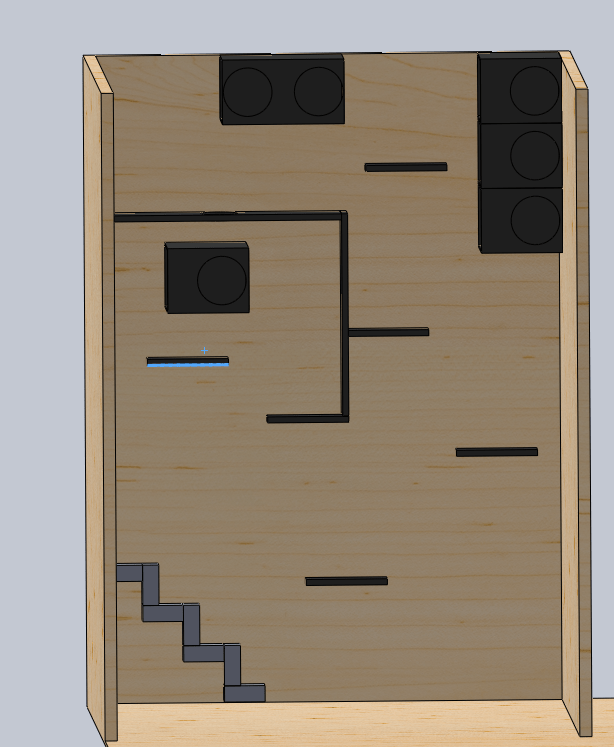
I also assembled part of the inside of the barn. I added in the bookcase and the hay bales. I will continue to add the shelves, shovel, and everything else I made to place in the barn.

Barn and Doors

This week I created the barn and all of the doors and attachments. I started by building the barn. Just like my sketch I made the front completely open. I added a roof on top and used the roof to frame the open part of the door. Next I created a cut where my sliding doors are going to go. I wanted the doors to blend into the barn when open so I made the opening 6m wide, leaving 3m on either side.

I then began to make the pole bracket. I made one side of the bracket closed so the pole would not be able to slide out. I extruded a cylinder on the side of it that would attach to a hole made on the barn for easy assembly.

Next I began to work on the pole. I made sure the pole was the perfect size so it would fit in the set parameters made by creating the holes on the barn and the closed side of the pole bracket.

I then made the slider. I made the slider slightly larger than the diameter of the pole so it would be able to easily slide. I extruded a rectangle on the slider and cut two holes into it. These are what I am going to use to attach the slider to the door. I also had to make a bolt that would allow me to attach the door and slider together without them falling apart.

Finally I created the doors. Each door was 3m in length and 8m in height. I made the doors exactly the same as the doors used in the cat house. To make the doors look symmetrical when together I had to do the same on each door just mirrored.

Designing the Barn

This week I focused on designing the barn. I decided to go with an open front and a back that had sliding doors. The doors on the back are going to be the same as the doors I made for the cat house. The only difference is going to be that these doors are sliding doors.

To make the sliding doors I am going to use a horizontal pole attached to the wall of the barn. I then am going to make a hollow cylinder that has a small extruded peg on the bottom that will allow me to attach to door to it. I will assemble the slider to the door and then to the pole attached to the wall.

Finally, I will add small windows to the sides of the barn. These will again be the same windows used in the cat house. Since one wall of the barn is open and the other has large door, the windows do not need to be big.

I took a picture of my design and on my design I provided comments on how I plan to make certain things and gave better specifications to the sizes of the doors.

Handles and post

I was not able to do much this week but I was able to work on the wooden posts for the pitchfork and shovel along with the handles for them. For the posts I made it 1m in height and about 2 inches in diameter. This was a simple part to make, I sketched a circle and was able to extrude it to the height.

For the handles I made them simple as well. I made a simple cut out square for the handle part and added an extruded circle that I cut into to make a place for the posts to sit inside.

I unfortunately am not able to provide pictures. For some reason my pictures will not upload but I will try again later to get them to upload.

Shovel and Bales

This week I worked on the shovel and the bales of hay. For the shovel I started with an extruded part that was the base shape of the shovel. I then went to the sides of the shovel and drew the curve the shovel will be.

Next I worked on the hay bales. Right now its a rolled piece of sheet metal. I know that solidworks has grass as a material but they do not have hay. I will need to see what I can do to make the bales into hay.

Next week I will continue working on the pitchfork along with the handle and poles.

Shelves, Bookcase, and hay bales

This week I began to work on the shelves, bookcase, and hay bales. I first started by working on the shelves since that was the least complicated, I created a 2.5m x 1m rectangle and extruded it upward .075m just like I did for the planks on the cat tree.

I then began to work on the bookcase. I made it 3m x 5m in height and with and extruded it outwards by 1m. For the first three shelves I made them .75m apart from each other and for the last few I made them .5m apart.

Finally I began to work on the hay bales. This I was not able to finish. When creating the spiral I ran into some issues. It requires you to put in some measurements and when I played around with them nothing changed. I am going to have to watch a few more videos and try to play around with the measurements more next week.

Next week I will also be attempting to tackle the pitchfork and broom. These will both have to be assembly files since usually the bottom and handles are metal and the rod connecting them is wood. I am also going to have to think a bit more about how to begin sketching them because they have features on many different planes; for example, the prongs on a pitchfork are curved like the letter C but also come to a point. I need to figure out how to be able to extrude that many features on one plane or how to manipulate the planes to work together.

Barn Plans

This week I continued to plan everything that is to go into the barn. I looked up the actual sizes of shovels, pitch forks, tractors, and hay bales in order to plan the sizing and placement of everything properly. In the first picture below you can see all of my designs with the placement and sizing of everything.

I also was planning on how to create the bales of hay. Since they are something that is rolled up I was not completely sure how to go about creating them. I looked at some solidworks forums and found an article that taught me how to make it with a sketched spiral. I then realized I had no idea how to draw a spiral so I went back to the forums to get answers. I found out that there is a tool you can use by drawing a circle and it will create a spiral for you. The second picture shows the notes I took so I can remember how to make them when I build them.

Barn Design

This week I designed the barn and I have provided a picture down below. I made notes of some questions I had while planning the barn. Some of the questions written I figured out while designing and some I am planning on asking at our next meeting. I am not sure if there are going to be doors on the barn yet but I have designed the outside of them in case we decide to have some.

Cat Shower

My task for this week was to create a shower station for the cat house. I started by making the cat shower be the length of the wall but decided that it was too big. I then decided to use half of the wall for a shower. Of the remaining half I used two thirds for a dryer and one third for some shelves for storing.

The cat dryer was the beginning of the shower just without the cuts for the drains. I then began making the drain caps for the shower. I made them using circular patterns of circles and cut them to make the holes.

If there are no new features to be made in the cat house then for the next few weeks I plan to work on each individual part and making small adjustments such as adding fillets or adjusting dimensions so everything can look perfect in the cat house.

Here are the pictures of the cat shower structures:

Design a site like this with WordPress.com
Get started